Quick answer
A roof replacement moves through inspection and estimating, material selection, permits and scheduling, property preparation, tear-off, decking review, roof-system installation, cleanup, final review and warranty handoff. Trinity describes installation on many homes as a one-to-three-day process, but the complete project timeline can be longer. Roof size, design, access, weather, permitting and conditions uncovered beneath the old shingles can all affect the schedule.
“How long will my roof replacement take?” sounds like one question, but it has two different answers. The first is how long it takes to move from inspection to installation day. The second is how long the crew will be actively working at the home.
Separating those windows makes the project easier to plan. Material decisions, permits, delivery and weather happen before the first shingle comes off. Cleanup, documentation and warranty handoff continue after the final shingle is installed.
Before
Inspection, scope, products, permits, delivery and schedule confirmation.
During
Property protection, tear-off, deck review and complete roof-system installation.
After
Cleanup, final review, documentation, warranty details and future support.
The planning principle
Treat the timeline as a sequence of decisions, not one promised date. The strongest schedule explains what must happen at each stage, what could change it and how the homeowner will be updated.
Stage 1: Roof inspection, scope and estimate
The timeline starts with understanding the existing roof. A useful assessment looks beyond the visible shingles to flashing, penetrations, valleys, edges, drainage, ventilation, attic moisture indicators and signs of decking or structural concerns.
The estimate then converts those findings into a proposed scope. It should identify the roof areas included, removal and disposal, material system, flashing approach, ventilation work, property protection, permits, cleanup, warranty and the process for work that cannot be confirmed until tear-off.
This is the point to compare proposals on equal terms. Two estimates with different decking allowances, flashing work, ventilation corrections or cleanup responsibilities are not the same project at different prices. Use the roofing estimate checklist to normalize the scope before signing.
| Project stage | What should happen | Homeowner checkpoint |
|---|---|---|
| Assessment | Roof condition, measurements, access and visible system concerns are documented | Ask which findings support replacement and what remains unknown |
| Scope | Removal, materials, flashing, ventilation, cleanup and exclusions are defined | Confirm what is included, allowance-based or priced only if discovered |
| Selections | Shingle line, color and roof-system components are finalized | Verify exact products rather than relying on generic descriptions |
| Pre-construction | Permits, ordering, delivery, scheduling and property access are coordinated | Confirm the communication plan and weather-rescheduling process |
| Installation | Tear-off, deck review and complete roof-system installation take place | Know who can approve documented changes if concealed damage appears |
| Closeout | Cleanup, final review, documentation and warranty handoff are completed | Resolve open items and retain project records |
Stage 2: Materials, permits, delivery and scheduling
After the scope is accepted, the project moves into pre-construction. The homeowner selects the shingle product and color, while the contractor coordinates material availability, required permits, delivery and crew scheduling.
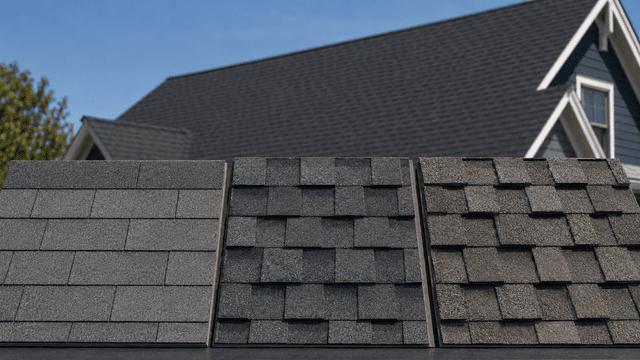
Trinity currently offers IKO Cambridge architectural shingles and IKO Dynasty performance shingles. Product choice should be completed early enough for availability to be confirmed. The roof shingle selection guide explains how construction, tested performance features and appearance differ.
The scheduled date still depends on safe working conditions. A responsible weather decision may move installation even when materials and the crew are ready. The goal is not to preserve the calendar at the expense of leaving the home exposed.
01
Finalize the system
Confirm shingles, underlayment, edge components, flashing, ventilation and any project-specific materials.
02
Clear project requirements
Address permits, access, utility lines, neighborhood rules and other local requirements that apply.
03
Coordinate delivery
Identify where materials and waste containers can be placed without creating avoidable property or access problems.
04
Confirm communication
Know who provides schedule updates and who has authority to discuss a change in scope during installation.
Stage 3: How to prepare the home and property
Roof replacement is active construction. Expect noise, vibration, falling debris within controlled work areas and temporary restrictions around the home. A clear preparation plan protects people and property while helping the crew work efficiently.
Homeowner preparation checklist
- Move vehicles away from the driveway, delivery route and work zone before the crew arrives.
- Keep children and pets inside and away from all active work and debris areas.
- Remove fragile wall hangings and secure delicate items that could shift from vibration.
- Cover or move vulnerable belongings in the attic because dust and small debris may enter.
- Mark sprinklers, low-voltage lighting and delicate landscaping that may be difficult to see.
- Unlock agreed gates and confirm access to power or other areas discussed during planning.
- Tell the contractor about household scheduling, remote work or medical needs affected by noise.
- Confirm whether satellite dishes, antennas, solar equipment or other roof-mounted items require separate coordination.
Many homeowners remain in the house during replacement, but staying is not automatically the best choice for every household. Noise can be intense, and people who work from home, young children, pets or anyone sensitive to vibration may be more comfortable elsewhere during active installation.
Plan the project
Connect the timeline to the home before installation day
A Trinity Roofing Expert can assess the roof, explain the proposed system and outline the steps that apply to the property.
Stage 4: Tear-off and the decking decision
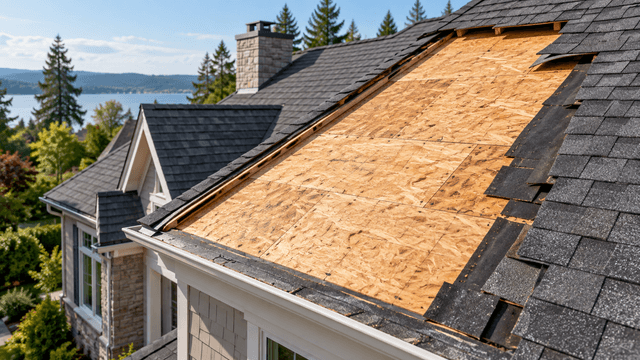
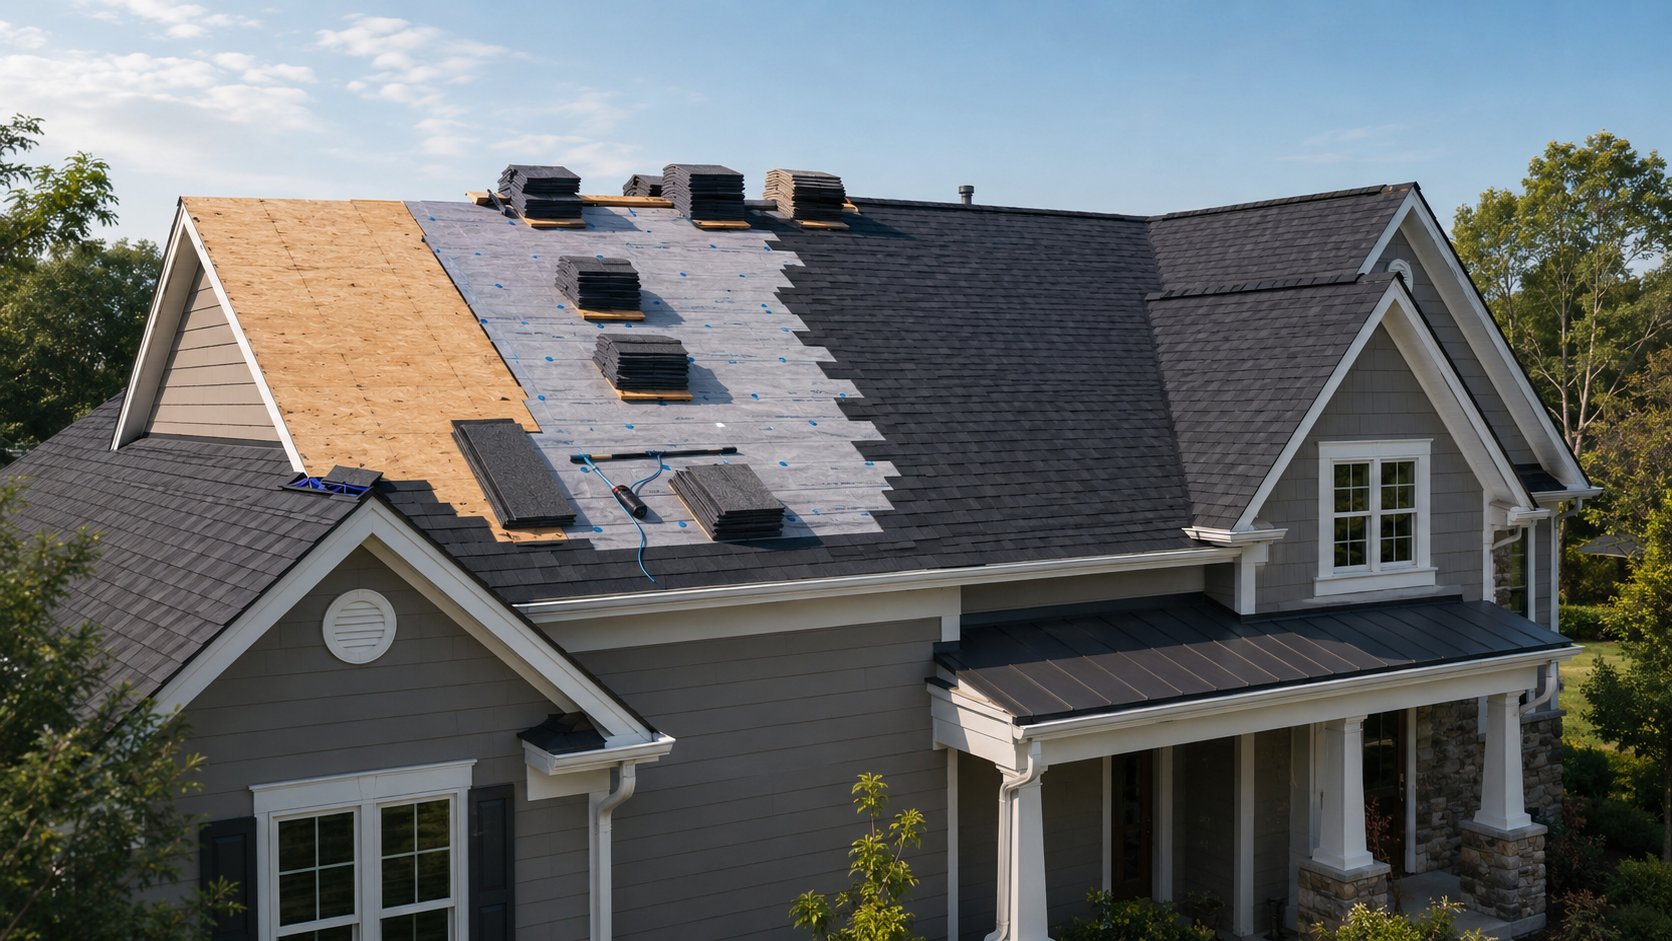
Once the property is protected, the crew removes the existing roof covering and related materials included in the scope. Tear-off exposes the deck, which is the structural surface beneath the roofing system.
This is the stage where a hidden condition can change the project. Staining, deterioration, rot, delamination, unsuitable gaps or other deck concerns may not be fully visible during the initial inspection. The crew should document the condition and connect it to the proposed additional work.
A decking allowance is not the same as an unlimited change order
Before installation, the agreement should explain what decking work is included, how additional quantities are priced and who can approve the change. During tear-off, the homeowner should receive enough documentation to understand why the scope changed.
Not every dark mark requires deck replacement, and the visible symptom should not make the decision by itself. The relevant questions are whether the material is sound, suitable for fastening and capable of supporting the roof system being installed.
Stage 5: Installing the complete roof system
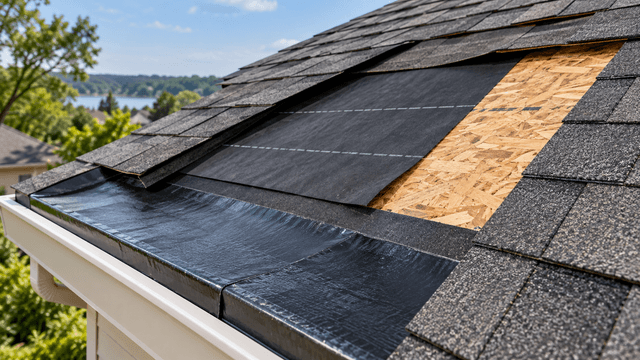
The visible shingles are only one part of the new roof. After necessary deck preparation, installation may include ice and water protection in required or specified areas, synthetic underlayment, drip edge, flashing, starter shingles, field shingles, ridge caps and ventilation components.
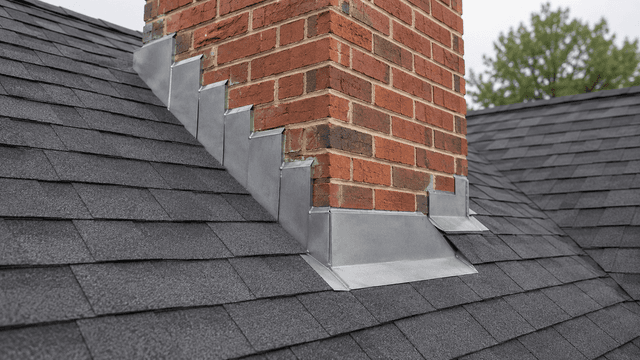
The exact sequence depends on the roof design, the products, manufacturer instructions and local code. Valleys, chimneys, walls, skylights, plumbing vents and roof transitions require their own water-shedding details. Moving quickly matters less than integrating each component correctly.
| Schedule variable | How it can affect installation | What to ask |
|---|---|---|
| Roof size and design | More roof area, steep slopes, valleys, dormers and transitions add work | Which design features drive the proposed schedule? |
| Weather | Rain, wind, extreme temperatures or unsafe conditions can delay work | How are weather calls and rescheduling communicated? |
| Access | Tight lots, limited staging and landscaping can slow material and debris movement | Where will materials and waste be staged? |
| Existing layers | Removal volume and concealed conditions may increase with additional layers | How many layers are included in the proposed removal scope? |
| Decking or structural findings | Corrective work may be needed before roofing installation continues | How will findings be documented, priced and approved? |
| Roof-mounted equipment | Solar panels, antennas or other equipment may require separate coordination | Who is responsible for removal, protection and reinstallation? |
Trinity’s published guidance describes many roof installations as taking one to three days. Treat that as a typical installation range, not a promise for every home. The project-specific schedule should come from the inspected scope.
Stage 6: Cleanup, final review and warranty handoff
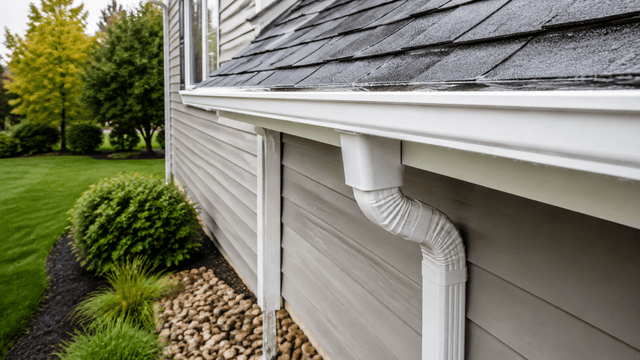
Installation is not complete when the last shingle is fastened. The crew still needs to remove debris, clear the work area, check gutters and surrounding property as included in the scope, perform nail collection and review the completed roof.
The homeowner should receive the final project documentation and understand how future questions or service concerns are handled. Material coverage and craftsmanship coverage are different obligations, so warranty terms should be read rather than reduced to one headline number.
Property
Complete the cleanup
Review debris removal, driveways, landscaping, gutters and the agreed nail-collection process.
Roof
Review the finished work
Discuss visible details, completed scope, documented changes and any items that remain open.
Records
Keep the handoff package
Retain the contract, change orders, product information, warranties, photos and service contact details.
Trinity’s TriShield roof warranty page explains its manufacturer, shingle-performance and craftsmanship coverage. Terms and duration can vary by product and agreement, so the final handoff should reflect the roof that was actually purchased.
What a dependable roof replacement timeline should tell you
A useful timeline does not depend on pretending nothing will change. It defines the planned sequence, the assumptions behind the schedule and the process for handling weather or concealed conditions.
Before work begins, the homeowner should be able to answer five questions:
- What must happen before installation can be scheduled?
- How many active installation days are planned for this roof?
- What conditions could change the date or duration?
- Who communicates changes and approves additional work?
- What marks the project as complete, including cleanup and warranty handoff?
That is a stronger planning standard than one generic number. It gives the homeowner a traceable process from the first assessment through the final documentation.
Ready for the next step?
Plan your roof replacement around the actual home
A professional assessment can connect the project sequence, materials and expected installation window to the roof’s size, design, condition and access.