Quick answer
If the roof is leaking, keep people and pets away from wet electrical fixtures, standing water, sagging ceilings and falling material. Move belongings and contain dripping water only when the area is safe. Photograph what you can see, note when the leak started and arrange a professional roof inspection. Do not climb onto a wet, icy, storm-damaged or unfamiliar roof to find the source yourself.
A roof leak creates two separate problems. The first is the water entering the living space right now. The second is the opening, failed detail or drainage condition that allowed water into the roof system.
A bucket may help with the first problem. It does not diagnose or correct the second. The best response protects people first, limits additional interior damage where practical and preserves evidence that can help a professional trace the source.

Protect
Clear the affected area when water, electricity, ceiling movement or falling material creates a hazard.
Contain
Move belongings and collect dripping water only from a stable, dry and safely accessible location.
Document
Record the visible damage, timing and weather pattern before cleanup changes the evidence.
Safety boundary
Do not enter standing water or touch wet electrical equipment, outlets, fixtures or a breaker panel. If there is a possible electrical, fire, gas, structural or life-safety danger, leave the affected area and contact emergency services or the appropriate qualified professional.
What should you do first when the roof is leaking?
Start from the inside and make only the moves that can be completed without entering an unsafe area. The leak may feel like it demands immediate roof access, but wet surfaces, wind, darkness and damaged materials make an active weather event one of the worst times for an untrained homeowner to climb.
01
Clear the affected area
Move people, pets, electronics, furniture and valuables away from the leak when you can do so safely. Do not stand beneath a bulging or shedding ceiling.
02
Contain the drip
Use a stable container on a level surface and towels or a waterproof covering to reduce spreading. Do not balance on furniture, enter a wet attic or work around electricity.
03
Photograph the conditions
Capture the ceiling, walls, floors, damaged belongings and exterior conditions from safe locations. Wide views and close details can both help establish the pattern.
04
Record when it happens
Note when the leak started, whether wind direction or heavy rain changes it, whether snow or ice is present and whether the same area leaked before.
Do not puncture a ceiling bulge as a default DIY step
A bulge can contain water, weakened drywall or other material that may release suddenly. Clear the space beneath it and get qualified guidance rather than standing under it or opening it without knowing what is above.
Is a leaking roof an emergency?
Every active leak deserves attention, but the appropriate response depends on the hazard—not only the amount of water. A slow drip in a clear area is different from water entering a light fixture, a ceiling changing shape or a tree resting on the roof.
| Condition | Response level | What to do |
|---|---|---|
| Water near electricity, smoke, sparks or a burning odor | Leave and escalate | Avoid contact, leave the affected area and contact emergency services or a qualified electrician as appropriate |
| Sagging roofline, bulging ceiling, falling material or major impact | Leave and escalate | Keep clear of the area and seek prompt emergency or structural guidance based on the apparent danger |
| Active leak with no immediate electrical or structural hazard | Contain and call promptly | Limit interior spread if safe, document the leak and arrange a roof assessment |
| New stain or dampness after rain | Document and schedule | Record the timing and request an inspection before another weather event expands the problem |
| Recurring stain or repeated cosmetic patch | Investigate the pattern | Ask for source tracing rather than another interior-only repair |
This table helps with triage; it does not diagnose the building. If you cannot determine whether an area is safe, stay out of it and get qualified help.
Why the ceiling stain may not be below the roof leak
Water does not always travel straight down from the entry point. It may move across underlayment, along roof decking, framing, fasteners, pipes or insulation before appearing on a ceiling or wall. Wind-driven rain can also enter at one detail and become visible several feet away.
That is why diagnosing a leak from the stain alone can produce the wrong repair. A professional may need to compare the interior evidence with roof planes, valleys, flashing, penetrations, edges, drainage and attic conditions.
| Possible entry area | What may be involved | Why inspection matters |
|---|---|---|
| Shingle field | Missing, lifted, cracked or deteriorated materials; exposed fasteners | The visible defect may be only one part of a larger weather pathway |
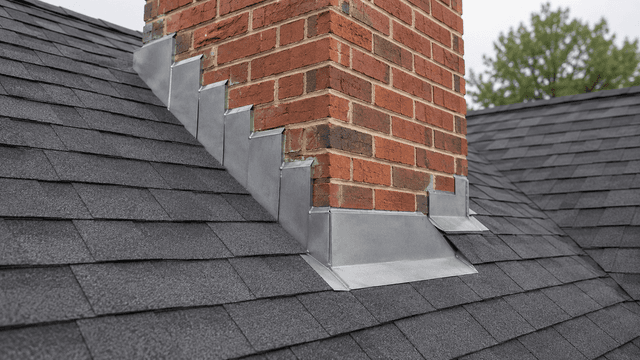
| Flashing and transitions | Chimneys, walls, dormers, skylights and slope changes | These areas rely on overlapping details that may fail beyond the visible sealant |
| Roof penetrations | Pipe boots, vents, fasteners and surrounding shingles | Cracks, movement or poor integration can direct water below the roof covering |
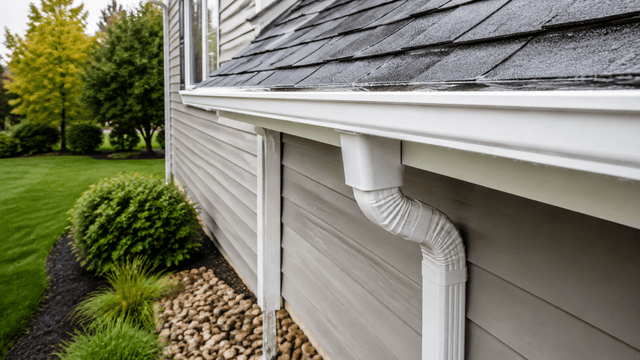
| Valleys, edges and drainage | Concentrated flow, debris, gutters, fascia and ice-related backup | The source may be a water-management problem rather than a single damaged shingle |
What temporary roof-leak measures can—and cannot—do
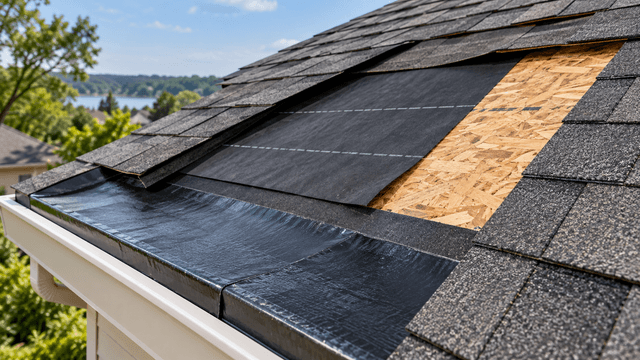
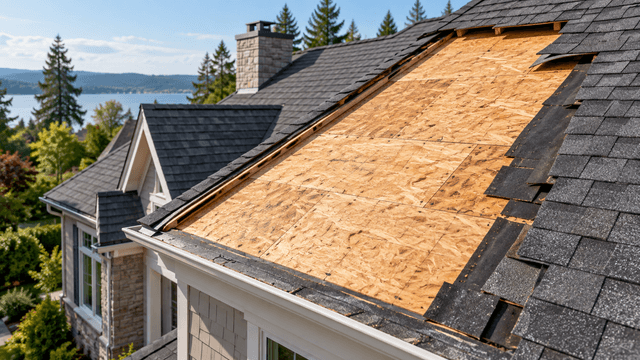
Interior containment can reduce the spread of water while conditions are being assessed. A professionally installed temporary exterior covering may also reduce weather exposure in some situations. Both are temporary risk-control steps, not proof that the leak source has been corrected.
Roof cement, caulk and surface patches can be appropriate parts of certain repairs, but applying them without tracing the pathway may trap moisture, cover evidence or fail at the next storm. A tarp is also not a safe homeowner project when the roof is wet, steep, high, damaged or exposed to wind.
Trace the source
Turn the visible leak into a documented roof assessment
Trinity’s roof inspection service evaluates roofing materials, flashing, drainage, visible leaks, attic moisture indicators and structural concerns, then outlines the next steps.
What should a roof-leak inspection answer?
The inspection should do more than confirm that the ceiling is wet. It should connect the interior evidence to the exterior roof details, identify meaningful access limits and explain why the proposed next step fits the observed conditions.
01
Where did water likely enter?
The assessment should identify the most likely entry area and the roof details supporting that conclusion—not simply point to the indoor stain.
02
How far did moisture travel?
Visible staining, attic evidence and material condition may show that the affected area is larger or differently located than the drip suggests.
03
What materials are affected?
Shingles, flashing, underlayment, decking, insulation, drywall and interior finishes do not all require the same response or contractor.
04
What restores dependable water shedding?
The recommendation should distinguish a temporary protective measure from the repair or replacement scope intended to address the cause.
Weather and access may prevent a complete exterior review during the active event. If so, the homeowner should know what was not inspected, what temporary precautions apply and when the remaining evaluation can be completed safely.
The roof assessment may not cover every downstream need. Wet electrical components, structural concerns, extensive interior water damage or possible microbial growth may require a qualified professional outside the roofing scope. A clear inspection separates those needs instead of implying that one contractor resolves every consequence of the leak.
What should you document before the inspection?
Good documentation gives the inspector a starting point and helps separate a one-time weather event from a recurring pattern. Record the date and approximate time, the weather conditions, where the water first appeared, whether the stain grew and what rooms or belongings were affected.
If the leak followed wind, hail, falling debris or another event, photograph visible conditions from the ground. Keep receipts for reasonable steps taken to prevent additional damage. If you plan to contact an insurer, review the policy and reporting instructions directly; coverage, exclusions, deductibles and deadlines depend on the policy and circumstances.
Document first, clean up safely second
Do not delay urgent safety action to take photos. Once people are clear of danger, preserve enough visual context to show where the water appeared and how the condition changed.
Does a roof leak mean you need a new roof?
No. A leak is evidence that water reached a place it should not, but it does not identify the full scope by itself. An isolated flashing failure, damaged pipe boot or limited shingle problem may support a defined repair. Widespread deterioration, recurring leaks, compromised decking or multiple failing areas may make replacement the more defensible long-term option.
The recommendation should follow from the roof’s condition, the source and extent of water entry, the surrounding materials and the reliability of the proposed remedy. Use the full roof repair-versus-replacement framework after the leak source has been evaluated.
A useful inspection should also distinguish what was observed from what could not be accessed. See what a professional roof inspection should include, from exterior roofing details through attic evidence and documentation.
Next step
Get the roof condition documented
A professional assessment can connect the interior leak to the roofing materials, flashing, drainage and attic evidence that should drive the recommendation.
Continue learning