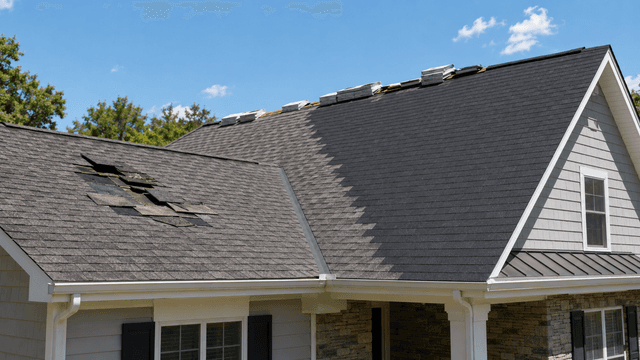
Quick answer: Roof flashing is the material that directs water away from vulnerable roof transitions, including chimneys, walls, valleys, vents and skylights. Damaged or improperly installed flashing can allow water beneath the roofing system even when the surrounding shingles appear intact.
Shingles protect the broad surfaces of a roof, but they cannot seal every joint, penetration or change in direction. Roof flashing helps manage those vulnerable areas by creating a path for rainwater to move down the roof and away from the home.
Because much of the flashing is installed beneath shingles, siding or masonry, a flashing problem may not be obvious from the ground. Understanding where flashing is used and recognizing the warning signs can help homeowners address a developing leak before it causes more extensive damage.
What is roof flashing?
Roof flashing is a water-shedding material installed where the roof meets another surface or contains an opening. It is commonly made from aluminum, galvanized steel, copper or another weather-resistant material.
A properly designed flashing detail overlaps with shingles, underlayment and nearby building materials. Instead of attempting to create a completely sealed surface, these overlapping layers use gravity to direct water toward the roof edge and gutter system.
Common types of roof flashing
Step flashing
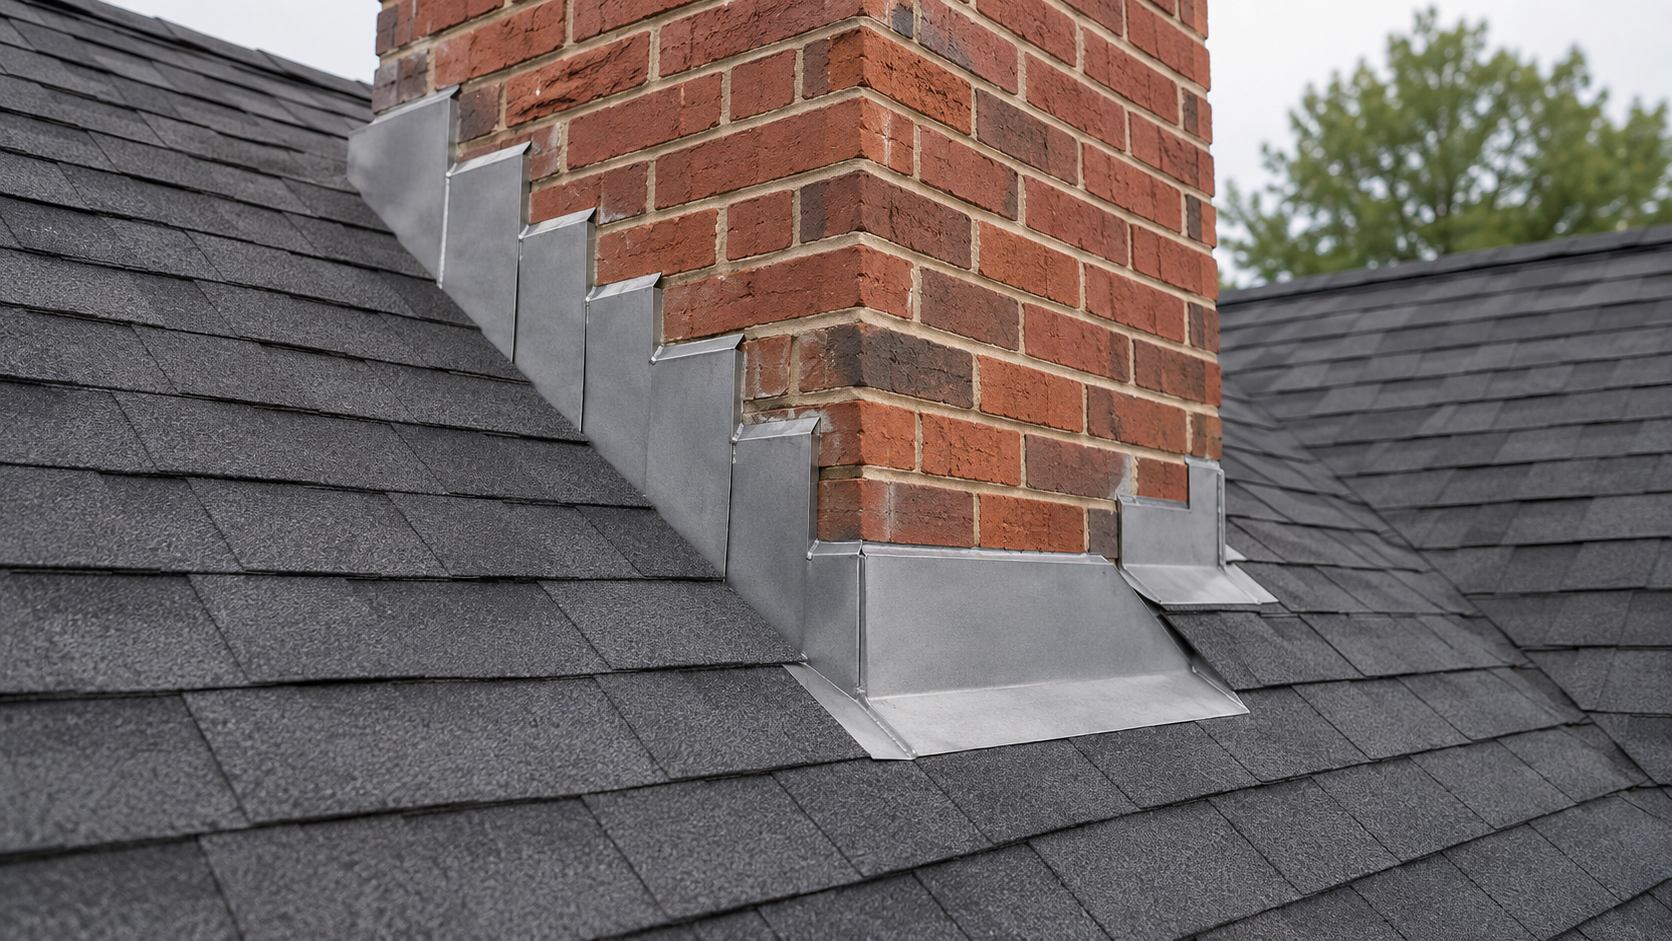
Small L-shaped pieces are layered with individual shingle courses where a sloped roof meets a vertical wall or chimney. The overlapping arrangement carries water down the roof without allowing it behind the wall.
Counterflashing
Counterflashing covers the upper edge of base or step flashing. It is commonly used around masonry chimneys to keep water from entering behind the primary flashing.
Apron or headwall flashing
A continuous piece of flashing is used where the top of a sloped roof meets the front of a wall, chimney or dormer. It directs water over the roofing material below the transition.
Valley flashing
Valleys form where two sloped roof planes meet and can carry a large volume of runoff. Some valley systems use exposed metal flashing, while others use shingles over the underlying protection.
Vent and pipe boot flashing
A fitted boot or flange surrounds plumbing vents and other roof penetrations. The base integrates with the shingles so water flows around the opening instead of entering the roof deck.
Drip edge and roof-edge flashing
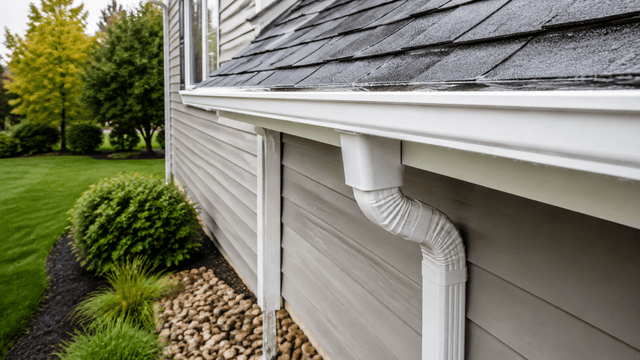
Metal installed along the eaves and rakes helps direct water away from the fascia and into the gutters. It also helps protect the edges of the roof deck.
Why roof flashing fails
Flashing can deteriorate because of age, corrosion, storm damage or movement between different parts of the home. Problems may also begin when the flashing was not integrated correctly during the original roof installation or a later repair.
- Improper installation: Water may reach the roof deck when flashing is placed over or under the wrong layer.
- Corrosion: Moisture, coastal conditions and contact between incompatible metals can weaken some flashing materials.
- Movement: Temperature changes and normal building movement can loosen fasteners, separate seams or pull flashing away from adjoining materials.
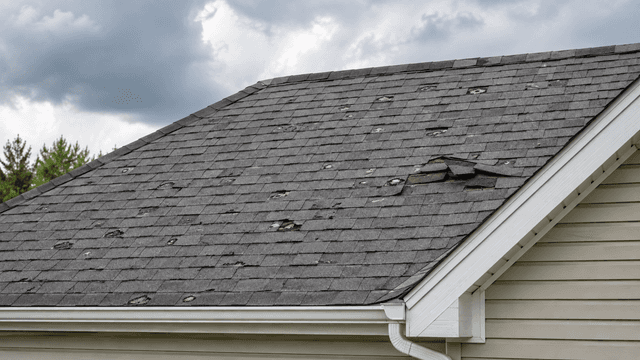
- Storm damage: Hail, falling debris and high winds may bend exposed flashing or disturb the surrounding shingles.
- Failed sealant: Sealant used as part of a flashing detail can dry, crack or separate over time.
- Poor integration during reroofing: Reusing or working around existing flashing may create problems when the new roofing materials cannot be properly connected to it.
Warning signs of damaged roof flashing
The location of an interior stain does not always identify the exact point where water entered. Water can travel along the roof deck, framing or other materials before it becomes visible inside the home.
| Area | Possible warning signs |
|---|---|
| Visible flashing | Bent, lifted, corroded, loose or missing metal; separated seams; visible gaps; or cracked sealant. |
| Nearby roofing | Lifted shingles, damaged edges, displaced materials or recurring debris buildup around a transition. |
| Attic | Damp insulation, stained decking, darkened framing, active drips or a musty odor near a chimney, wall or penetration. |
| Interior | Ceiling stains, peeling paint, damp drywall or moisture that returns during wind-driven rain. |
Roof safety: Do not climb onto a wet, steep, icy or visibly damaged roof to inspect flashing. Do not lift shingles or pull at loose metal. Document visible conditions from the ground and check the attic only when it is safe to do so.
Can flashing fail without obvious exterior damage?
Yes. The exposed portion of a flashing detail may look normal while a concealed overlap, fastener or connection has failed. Water can also enter behind siding or masonry before reaching the roof deck.
A professional roof inspection should evaluate the complete water pathway rather than focusing only on the nearest visible stain. That may include the surrounding shingles, underlayment, roof deck, wall connection, chimney, vent or skylight.
Roof flashing repair versus replacement
A localized repair may be appropriate when:
- The problem is limited to one defined flashing detail.
- The surrounding shingles remain serviceable.
- The roof deck has not sustained extensive damage.
- The new flashing can be integrated reliably with the existing roof.
Broader replacement may be considered when:
- Flashing problems appear in several locations.
- Water has damaged decking or adjoining materials.
- The surrounding shingles are brittle, worn or difficult to integrate.
- The roof already shows several other signs of widespread deterioration.
The final recommendation should be based on the extent of the damage, the condition of nearby materials and whether the repair can restore a dependable water-shedding system. Review the broader signs that a roof may need replacement when problems extend beyond one flashing location.
Is caulk enough to repair roof flashing?
Sealant may be one part of a correctly designed flashing detail, but applying caulk over the surface is not a substitute for properly integrated flashing. A surface patch may temporarily change where the water appears without correcting the actual entry point.
Repeated layers of sealant can also hide the condition of the flashing and make the eventual repair more difficult. If water is entering the home, follow the immediate steps in what to do when your roof is leaking and arrange an inspection.
What happens to flashing during a roof replacement?
Flashing should be included in the replacement scope rather than treated as an assumption. Some existing components may be reusable when they are accessible, compatible and in serviceable condition. Other details may need to be replaced so they can be integrated correctly with the new roofing system.
Before a roof replacement, ask which flashing components are included, how chimney and wall transitions will be handled and what happens if concealed damage is discovered after the old materials are removed.
The next step when you suspect a flashing problem
Document when the moisture appears, where it becomes visible and whether it follows wind-driven rain, snow or another weather event. Photographs taken from a safe location can help establish whether the condition is changing.
A roof inspection can identify the likely entry pathway, evaluate the surrounding materials and explain whether a targeted flashing repair or a broader roofing project is the more dependable next step.