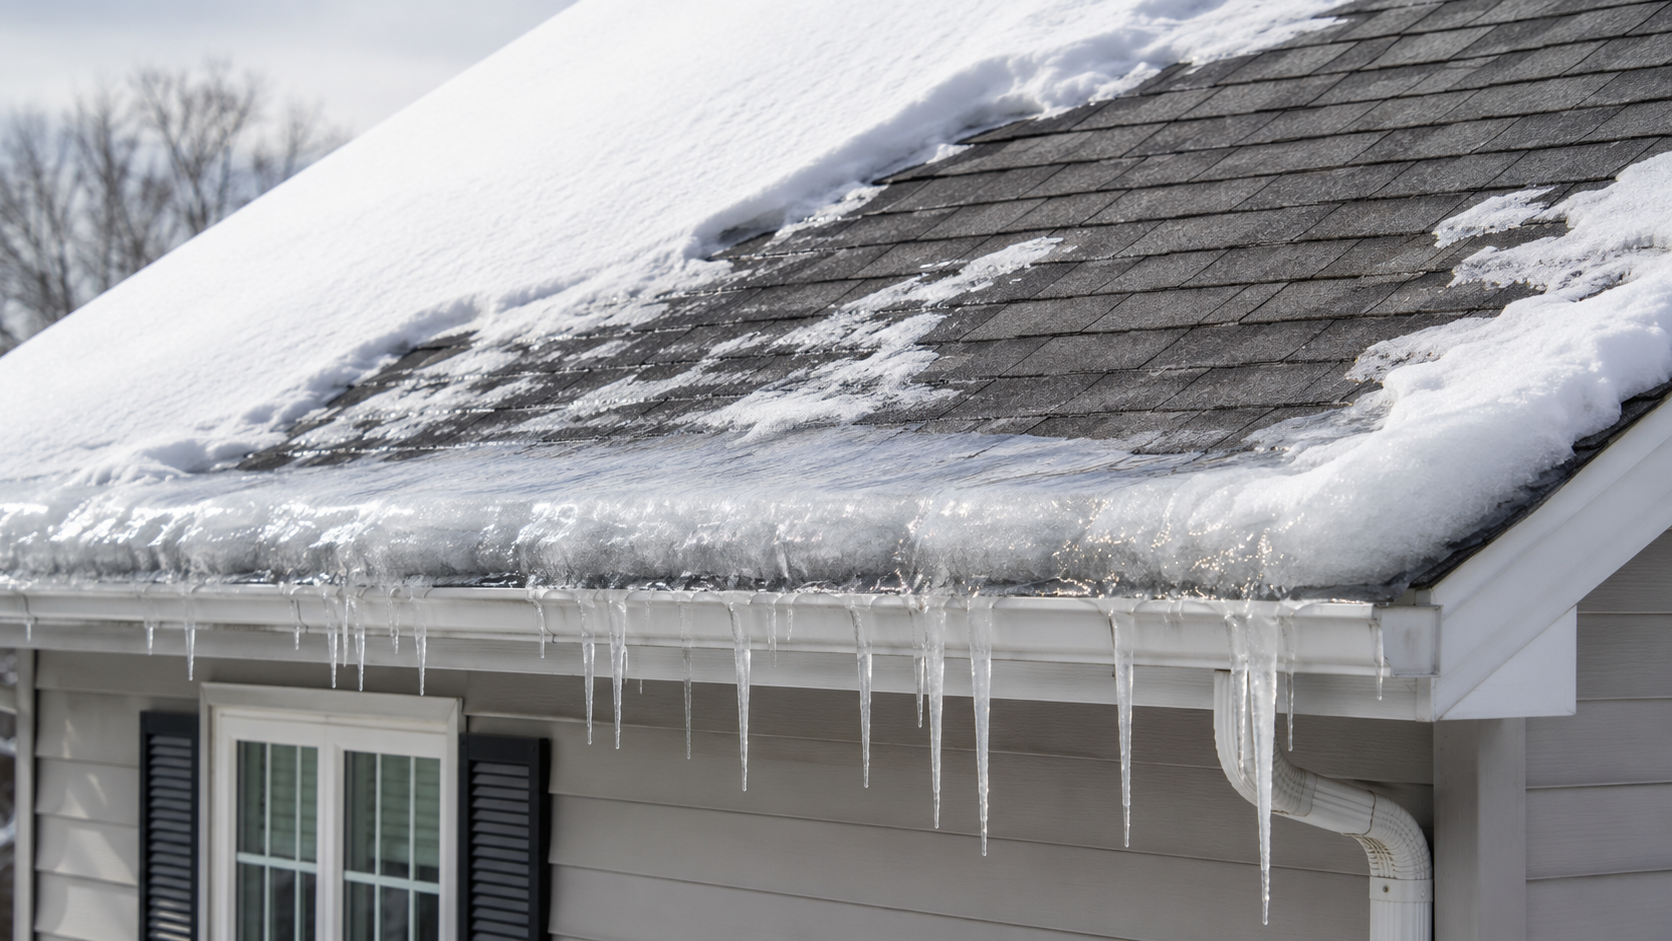
An ice dam forms when snow melts on a warmer section of the roof, flows toward a colder edge and refreezes. As the ice builds, it can prevent additional meltwater from draining. Water may then move beneath shingles and reach the roof deck, attic, insulation, ceilings or walls. Long-term prevention usually involves addressing attic air leaks, insulation, ventilation and roof-edge drainage—not simply removing the visible ice.
Snow on a roof does not automatically create an ice dam. The problem begins when different parts of the roof remain at different temperatures.
Heat escaping from the home can warm the roof deck above the attic. Snow melts over that warmer area, but the water refreezes when it reaches a colder overhang or eave. Each new freeze-and-thaw cycle can make the ridge of ice larger.
Understanding that cycle is important because removing the ice addresses the immediate symptom. Reducing the chance that it returns requires identifying why the roof is warming unevenly.
Snow melts
Heat reaches the roof deck and melts the snow above a warmer section of the roof.
Water refreezes
The runoff reaches the colder roof edge and freezes into a growing ridge of ice.
Water backs up
Additional meltwater collects behind the ice and may find a path beneath the roofing materials.
What causes ice dams?
Ice dams are usually the result of several conditions working together. The amount of snow matters, but so do the roof assembly, attic conditions, outdoor temperature and the way heat moves through the home.
Air leaks into the attic
Warm indoor air can escape through openings around light fixtures, attic hatches, wiring, plumbing penetrations, duct chases and other gaps in the ceiling plane. That heat can warm the underside of the roof deck and start melting the snow above it.
Uneven or insufficient insulation
Thin, compressed, displaced or missing insulation allows more heat to reach certain sections of the attic. Eaves can be especially vulnerable because there may be less room for full-depth insulation where the roof meets the exterior wall.
An unbalanced ventilation system
In a vented attic, intake and exhaust openings help move outdoor air through the roof assembly. Blocked soffit vents, insufficient intake or an incompatible combination of vents may contribute to uneven roof temperatures and attic moisture.
Ventilation is only one part of the system. Adding more vents without evaluating air leakage and insulation may not correct the actual cause. Learn more in our guide to roof ventilation and attic airflow.
Roof design and weather conditions
Valleys, dormers, overhangs, shaded areas and roof transitions can collect snow or create different temperature zones. Sun exposure, wind and repeated shifts above and below freezing can also affect where snow melts and refreezes.
Gutters usually do not create the temperature difference that starts an ice dam. However, clogged, damaged or poorly draining gutters can complicate water movement at the roof edge and may be strained by accumulating ice.
How ice dams can damage a roof and home
An ice dam does not need to tear a shingle away to create a problem. Its main danger is the water that collects behind it. Roofing systems are designed to shed water down the roof—not hold it in place at an edge.
| Area | Possible damage | What you may notice |
|---|---|---|
| Shingles and underlayment | Water may move beneath the roof covering or stress materials at the edge. | Lifted, displaced or damaged shingles near the eave. |
| Decking and attic | Repeated moisture may wet decking, framing or insulation. | Damp insulation, staining, odors or visible moisture. |
| Ceilings and walls | Water can travel into finished areas of the home. | Peeling paint, water stains, bubbling drywall or an active drip. |
| Gutters and fascia | The weight and expansion of ice may pull on drainage and edge components. | Loose gutters, separated fasteners, bent sections or damaged fascia. |
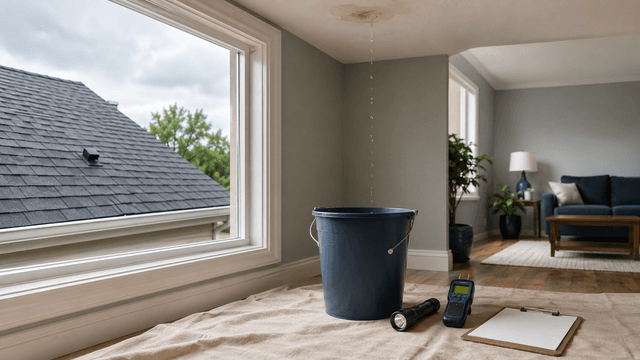
Water can travel along the roof deck, framing or insulation before it becomes visible inside. A ceiling stain may therefore appear several feet away from the roof area where the water first entered.
Signs that an ice dam may be causing damage
- A ridge of ice along the eaves or inside the gutter
- Large icicles combined with snow remaining higher on the roof
- Water stains near exterior walls or upper-floor ceilings
- Damp insulation, decking or framing in a safely accessible attic
- Peeling paint, bubbling drywall or musty odors after snow begins melting
- Gutters pulling away from the fascia or visibly bending under ice
- Ice dams returning in the same roof area during multiple winters
Icicles alone do not confirm that water has entered the roof. However, recurring ice buildup, visible interior moisture or changes to roofing and gutter components justify a closer assessment.
Do not climb onto a snowy or icy roof. Avoid standing beneath heavy ice, damaged gutters or falling material. If water is near electrical fixtures, outlets or equipment—or if a ceiling is sagging—keep people and pets away from the area and contact the appropriate emergency or qualified professional.
How to help prevent ice dams
The most dependable prevention plan addresses the way heat, air and moisture move through the roof assembly. The right combination depends on whether the attic is vented, how the roof is built and where heat is escaping.
Identify and seal attic air leaks
Openings between the living space and attic can carry warm air toward the roof deck. Air sealing should account for electrical, ventilation and fire-safety requirements.
Correct insulation gaps
Insulation should be continuous and appropriate for the home and climate. Compressed or missing insulation near eaves can create warmer roof areas even when the rest of the attic appears insulated.
Evaluate intake and exhaust ventilation
A vented attic generally needs a clear intake path near the lower roof and compatible exhaust near the upper roof. Insulation, debris or incompatible vent types can interfere with airflow.
Maintain roof-edge drainage
Clear debris from gutters and downspouts before winter, and correct loose or damaged sections. This supports drainage but does not replace attic and roof-system corrections.
Review roof-edge protection during replacement
When the roof is replaced, the project scope should address underlayment, ice-and-water protection, drip edge, flashing and ventilation as required for the roof and local code.
Ice-and-water membrane can help protect vulnerable roof areas if water backs up. It does not prevent the roof-temperature differences that cause an ice dam to form.
What should you do if an ice dam has already formed?
Start with safety and the conditions inside the home. If water is entering, move belongings away and contain dripping water only when the area is stable and clear of electrical or structural hazards. Photograph visible damage and note when the leak began.
Do not climb onto the roof or strike the ice with a hammer, axe or other sharp tool. These methods can damage shingles, flashing and gutters while creating a serious fall or falling-ice hazard. Do not use open flames or improvise with products that may damage roofing materials, metal or landscaping.
A roof rake may help reduce loose snow when it can be used safely from the ground and according to its manufacturer’s directions. Heavy ice, an inaccessible roof edge, a damaged gutter or an active leak should be handled by a qualified professional.
If water is already entering the home, follow the immediate safety and documentation steps in what to do when a roof is leaking.
Does ice-dam damage require roof repair or replacement?
One ice dam does not automatically mean the entire roof needs to be replaced. The recommendation should follow from the condition of the roofing materials and the extent of water intrusion.
A limited repair may be appropriate when:
- Damage is confined to a defined roof-edge area
- The surrounding shingles and flashing remain serviceable
- Wet materials can be identified and corrected
- The underlying heat-loss or drainage issue can also be addressed
Replacement may deserve consideration when:
- The roof is already near the end of its service life
- Leaks or ice dams have repeatedly affected multiple areas
- Shingles, flashing or decking show broader deterioration
- The existing system cannot be corrected reliably through a limited repair
A professional roof inspection should document the visible ice-dam area, roofing materials, roof edge, flashing, gutters, attic moisture indicators, insulation and ventilation conditions. That evidence can separate the immediate water-entry problem from the conditions that allowed it to develop.